Creating Multiple Hierarchies for a Cube
When you create
a cube using the Cube Designer wizard in
SAS OLAP Cube Studio, you can specify more than one hierarchy for
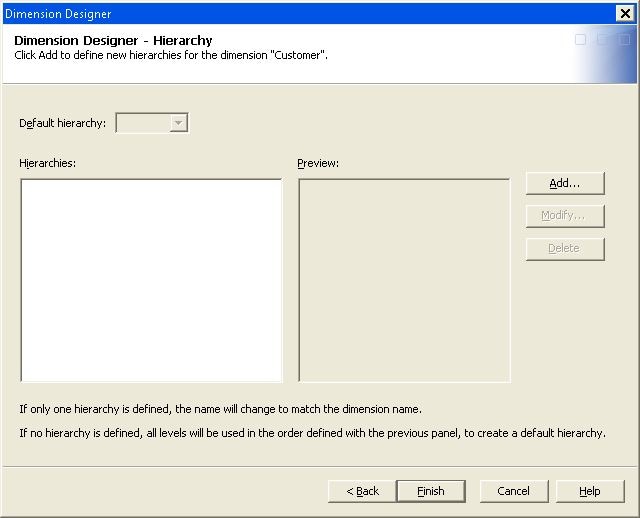
a dimension. Hierarchies can be defined on the Dimension
Designer wizard that is part of the Cube
Designer wizard.
-
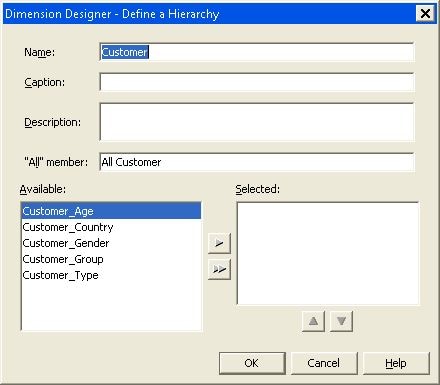
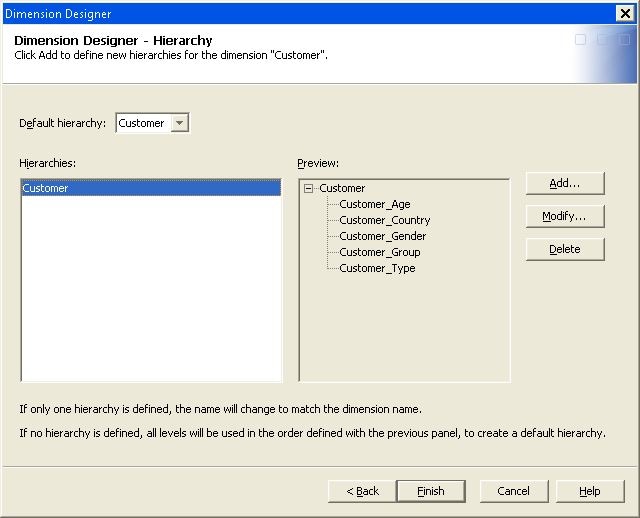
On the Dimension Designer – Define a Hierarchy page, a hierarchy name is created for you by default that is based on the dimension name. Enter a different hierarchy name if needed. Enter a caption and a description if needed. You can then select the levels for the hierarchy from the Available list and add them to the Selected list. Select OK when you are finished. The hierarchy is created and listed on the Dimension Designer - Hierarchy page. See the following display.
-
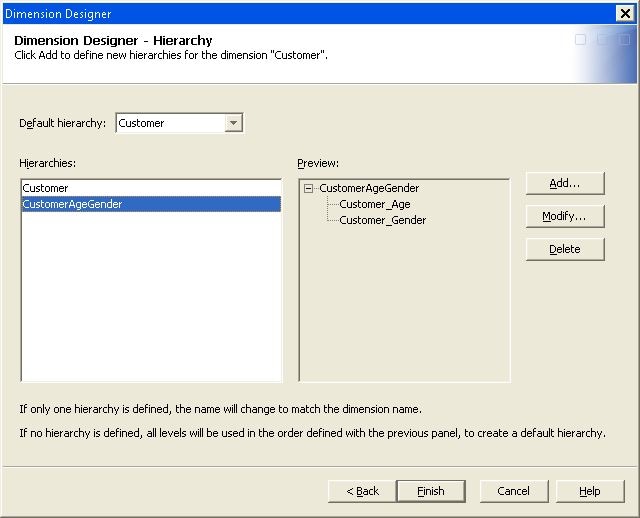
Repeat the Dimension Designer – Define a Hierarchy function for each hierarchy that you need to create. As you create hierarchies, they are listed in the Hierarchies panel of the Dimension Designer – Hierarchy page. You can then select a default hierarchy from the list of hierarchies that you have created. See the following display:
Note: If you are creating a time-specific
dimension, use the Add Supplied dialog box
to create the levels and hierarchies for the dimension. See the example Creating a TIME Dimension in SAS OLAP Cube Studio.
If you are creating
the cube using PROC OLAP, you will include a HIERARCHY statement for
each hierarchy that you create for the dimension. See the following
example PROC OLAP code:
   DIMENSION Customer
      CAPTION          = 'Customer'
      HIERARCHIES      = (
         Customer CustomerAgeGender
         ) /* HIERARCHIES */;

      HIERARCHY Customer
         ALL_MEMBER = 'All Customer'
         CAPTION    = 'Customer'
         LEVELS     = (
            Customer_Age Customer_Country Customer_Gender
            Customer_Group Customer_Type
            ) /* LEVELS */
         DEFAULT;

      HIERARCHY CustomerAgeGender
         ALL_MEMBER = 'All CustomerAgeGender'
         CAPTION    = 'CustomerAgeGender'
         LEVELS     = (
            Customer_Age Customer_Gender
            ) /* LEVELS */;


